Living on a remote homestead, embracing a minimalist
lifestyle, and becoming more self-sufficient requires a major change in
attitude, particularly how you approach the material side of life. We are bombarded daily with messages from the
outside world telling us that we should want
this or want that. We all know people who get it into their
minds that they must have something expensive even when the object they crave won’t give them anything more than something
less expensive but equally functional.
Nonetheless, people steeped in the mindset of hyper-consumption
can’t seem to disentangle themselves from a worldview steeped in the
acquisition of stuff, as George
Carlin used to phrase it.
When it comes to forging tools I have two choices. I can make them or buy them. If I decide to buy them then I can pay a
little or I can pay a lot. Some tools,
however, are IMO exorbitantly priced. I
would not have imagined paying more than twenty bucks for a hammer, but I’ve
seen hammers going for $100, $150, $200.
To each his (her) own but I choose not to go that route. I long ago gave up the addiction of wanting
things and paying for things that I believed unnecessary. It’s true that hammer requirements (like the
tong and jig necessities) become more specialized as one gains experience but
one does not need to spend oodles of dinero
to acquire a good hammer. So here’re
my two cents for those of you who are starting to walk away from the American
lifestyle of avarice, materialism and hyper-consumption: If you want to take up
homestead blacksmithing as a hobby then modify the inexpensive hammers you find
at garage and yard sales, flea markets and roadside vendors. In learning to modify hammers you’ll expand
your skill levels and you’ll find comfort in knowing that you are not as
addicted and driven to spending as the advertisers, marketers and corporatists
want you to be. Of course, you can even
make your own hammer. A simple forge, a
decent anvil thingy, some pick-up tongs, a couple of hot punches and a drift or
two and you’ll be set to go. I choose,
however, not to go that route. I’d
rather modify a hammer I picked up at a yard sale for 25 cents or thereabouts and
then get on with whatever I intend to make.

Above a modified ballpeen hammer used to make farrier’s type
bolt tongs.

A 3-pound drilling hammer converted into a top tool. It also works well for other forging
projects.
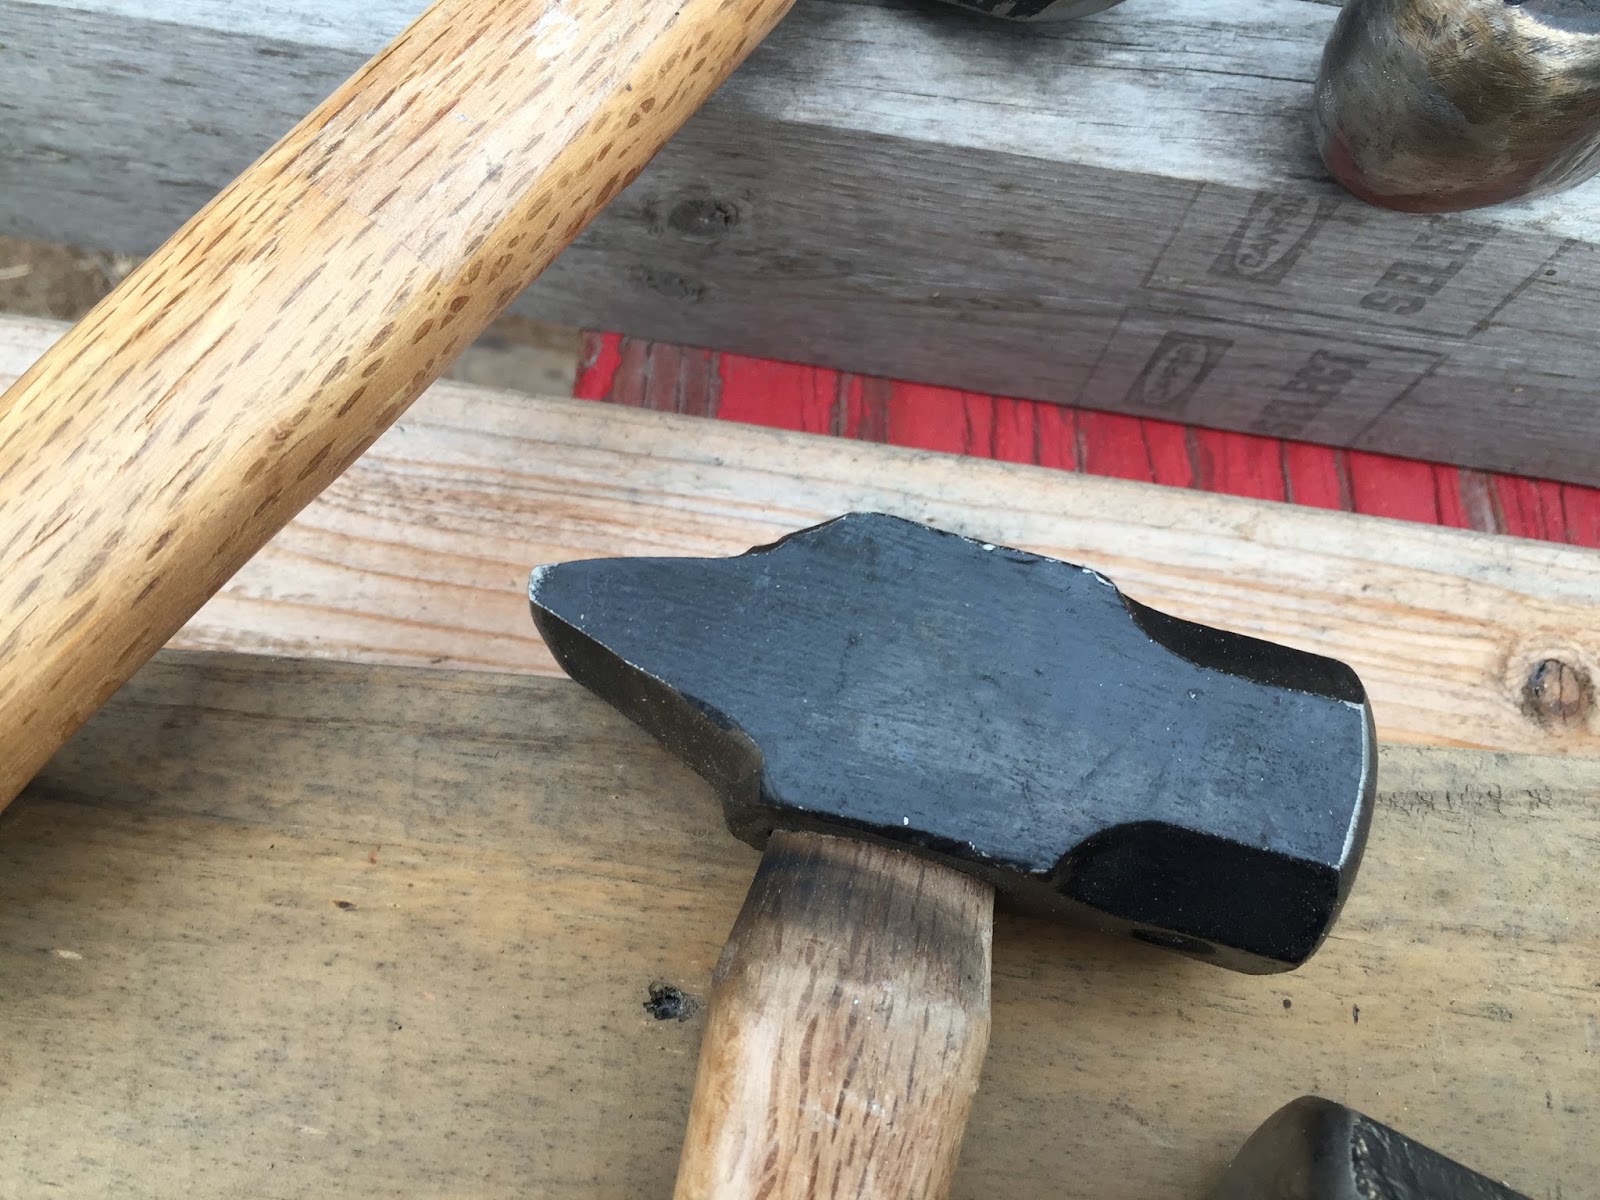
A 2-pound engineer’s hammer turned into a specialized cross
peen hammer. It now weighs about 1.5
pounds.

This 2-pound engineer’s hammer is the same used for the ball
peen hammer above and the rounding hammer below.

My most used hammer above is a 2-pound rounding hammer made from an inexpensive
engineer’s hammer.

The three hammers pictured were all made from engineer’s
hammers. Left to Right: 1.5 pound cross
peen hammer; 2-pound rounding hammer; 3-pound rounding hammer.

A larger cross peen hammer properly dressed to suit my needs.

An assortment of top tools and rounding hammers made from
engineer’s hammers and drilling hammers.

Ballpeen hammers scrounged up at flea markets and yard sales.

The three hammers above were found in my dad’s garage about a
year after he passed away. I recall
having seen these hammers when I was a boy.

This is the most widely used anvil in the world. A 10-12 pound sledgehammer head is used from
Nepal to Africa to Asia to Latin America to places here and there all over
North America. You can do just about
anything with a sledgehammer head that you do with a big and ponderous
blacksmithing anvil. Metalsmiths,
bladesmiths and blacksmiths around the globe prove me right.
Again, you show me a simple but missing piece of knowledge... my dad had a 10x10 chunk of 3/4" thick steel plate & a vice for his (very minor) metal pounding needs.
ReplyDeleteKnowledge is never a bad thing to have in the back of your mind. Thanks!
Absolutely!
Delete"Great insights! The cross peen hammer is indeed a versatile tool, especially for metalworking and shaping. Its unique peen end allows for precise control, making it a favorite among blacksmiths. Have you tried using the Maximus 350? I’ve heard it offers excellent balance and durability!"
ReplyDeleteThe cross peen hammer is a must-have tool for metalworkers and blacksmiths. Its unique design allows for precise shaping and spreading of metal. I recently used a cross peen hammer for a small forging project, and the control it offered was impressive. It’s truly a versatile tool that belongs in every serious DIY toolkit.
ReplyDelete